1. Choose a font, any font, preferably one you like and that can be a sort of signature for you. No doubt you have hundreds of fonts on your computer, so open up a document, type your name (or whatever text you want to use for your watermark) and have a play with the fonts you already have. If you're not happy you have The Font, then turn to the internet - that's what it's there for! I found this font from dafont and it's called znikomit No24 by gluk. The swirly frame was one I had made and used for a previous project, but you don't need to use a frame for your watermark.
2. I use PS but I'm sure that any photo editing software can be used. (These instructions will be PS oriented.) Open up a new file to a size of 4300 x 2300, set layer to white. But to be honest, the size can be approximate, as you'll re-size the watermark down to size according to each image you watermark.
4. Go to your Layers menu and select Blending Options. Because the font I have chosen is quite fine, I've selected Bevel and Emboss as well as Drop Shadow. Depending on the font you choose, you may find this step unnecessary. I have also selected Colour overlay and set it to negative image.
You can see the effect of the blending options on a heavier font:
5. I added my swirl frame on a new layer and inversed the colours (it was black, inversed to white) then applied the same blending option as above:
At this stage, it's still too 'dainty' and almost invisible on even the plainest of images. This won't be the case if the font you have chosen is bulkier. If you have chosen a dainty font and/or frame, simply duplicate both the text and frame 2 or even 3 times. Practice popping the watermark on one of your images to see if you're happy with the effect. You may find that you don't need to duplicate the blending effect on each duplicated layer, so simply disable the blending option as you see fit.
6. Once you're happy with the watermark, it's time to group all the layers together using the "Create a new Group" option in the Layers palette (red circle). Drag each layer onto the new folder (green circle). You will notice the Blending Mode is now "Pass through". Save this as a .pdf file:
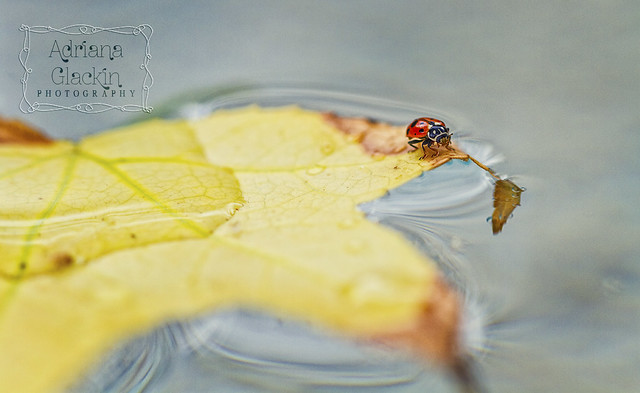
7. Time to grab one of your images and test out your new watermark. Grab your folder, you'll notice I've called mine "ZNIKO grey" and copy that to one of your open images. How you size the watermark, where you position it and how you blend it to your photo will depend on each image and of course your own personal preference:
So now you should be good to go. I hope you've found this How To easy to follow and implement..
What are your thought on watermarks? Do you use them? If not, I'd love to hear why.
If you have any questions, drop me a comment.


No comments:
Post a Comment